Ergonaut One Build Preparations
This guide will help you prepare all the necessary tools and materials for a successful Ergonaut One build.
PCB
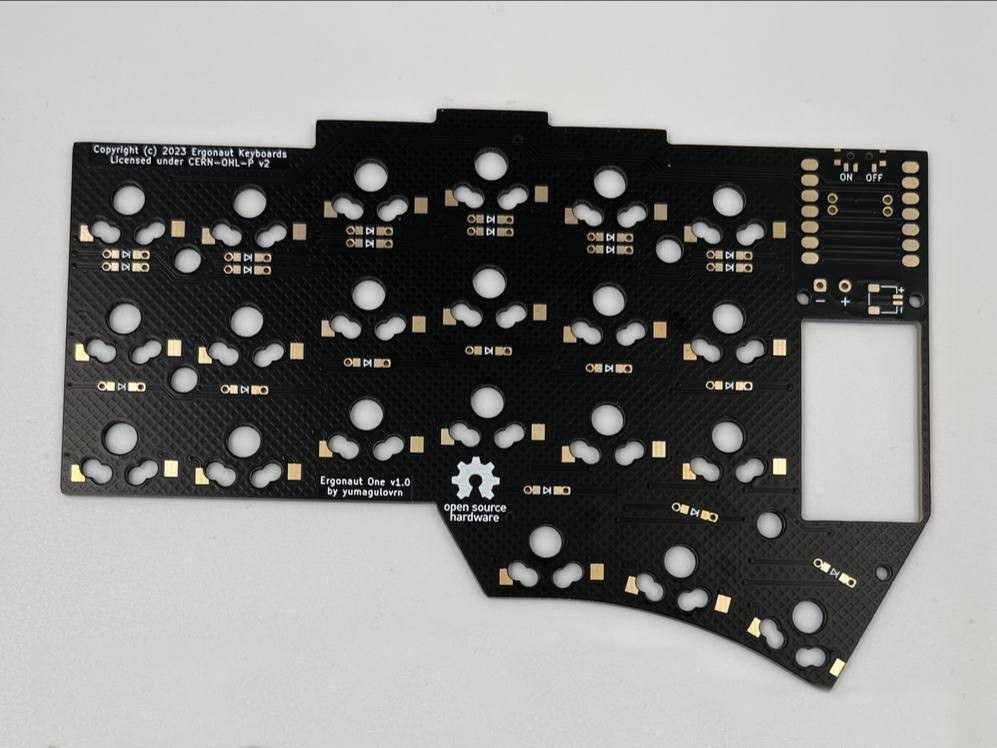 PCB is the core component of Ergonaut One.
Tools:
You'd probably need:
- Soldering iron;
- Solder wire;
- Flux;
- Tweezers;
- Isopropyl Alcohol or other suitable solvent for PCB cleaning;
- Cotton Q-tips or other suitable material for PCB cleaning.
PCB Manufacturing
If you are brave enough, you can manufacture PCB yourself. But my suggestion would be to grab a Gerber archive from Github Releases and order PCBs from any capable PCB manufacturer, like:
You are free to choose any desirable PCB specification but keep in mind that all cases are modeled with 1.6mm PCB thickness in mind. You'd need two PCBs for one kit.
BOM
| Name | Qty | Links |
|---|---|---|
| Seeeduino XIAO nRF52840 Module | 2 | Aliexpress |
| MSK-12C02 SPDT Switch | 2 | Aliexpress |
| 1N5819 SOD-123 Diode | 42 | Aliexpress |
| Gateron KS-27 Hot Swap Socket | 42 | Aliexpress |
| Li-Po Battery 601730 With Protection | 2 | Source locally |
| [OPTIONAL] JST SH1.0 Horizontal 2 Pin PCB Connector | 2 | Aliexpress |
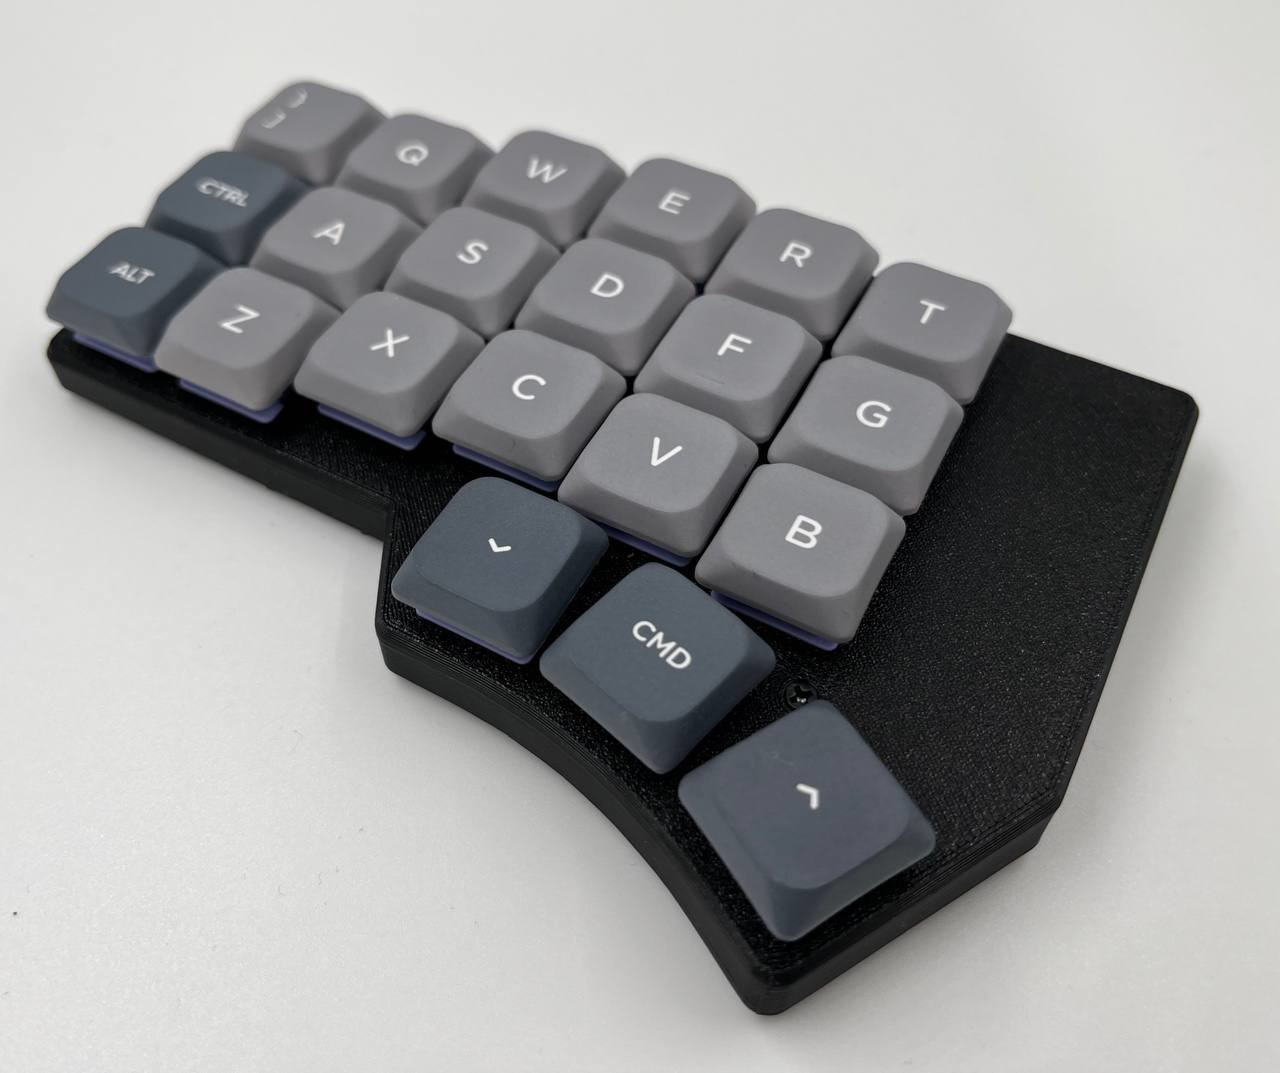
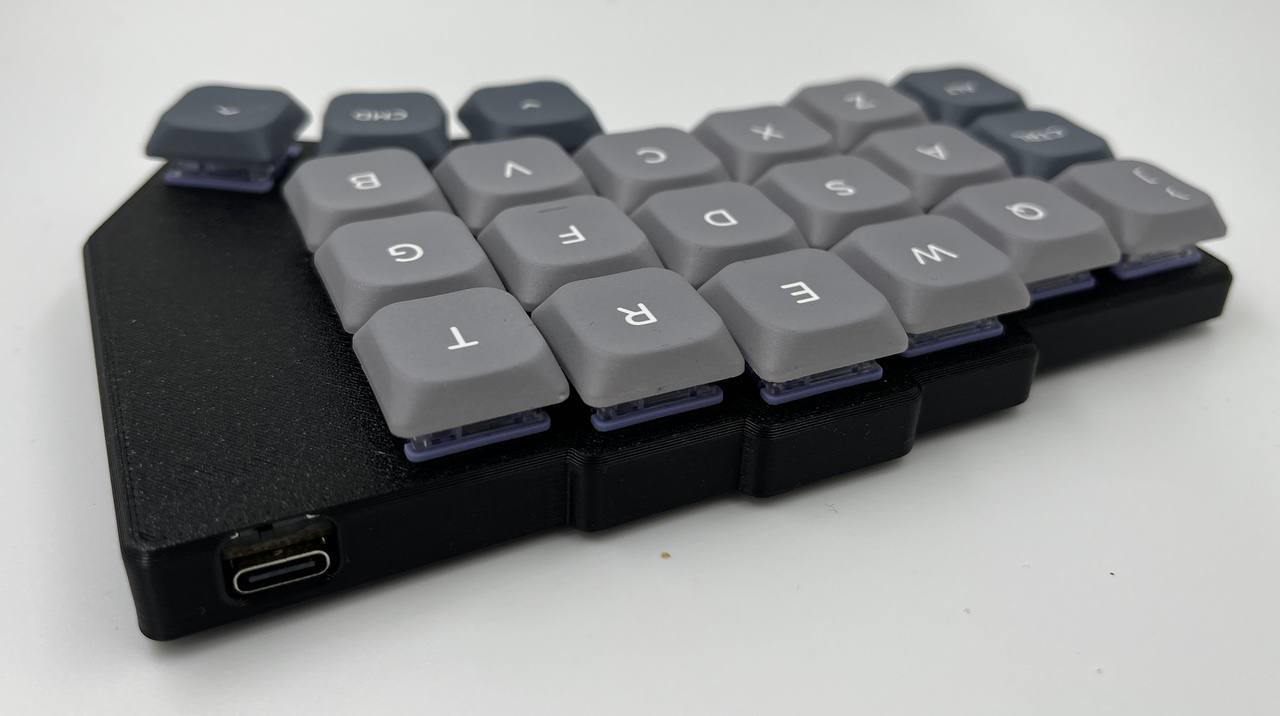
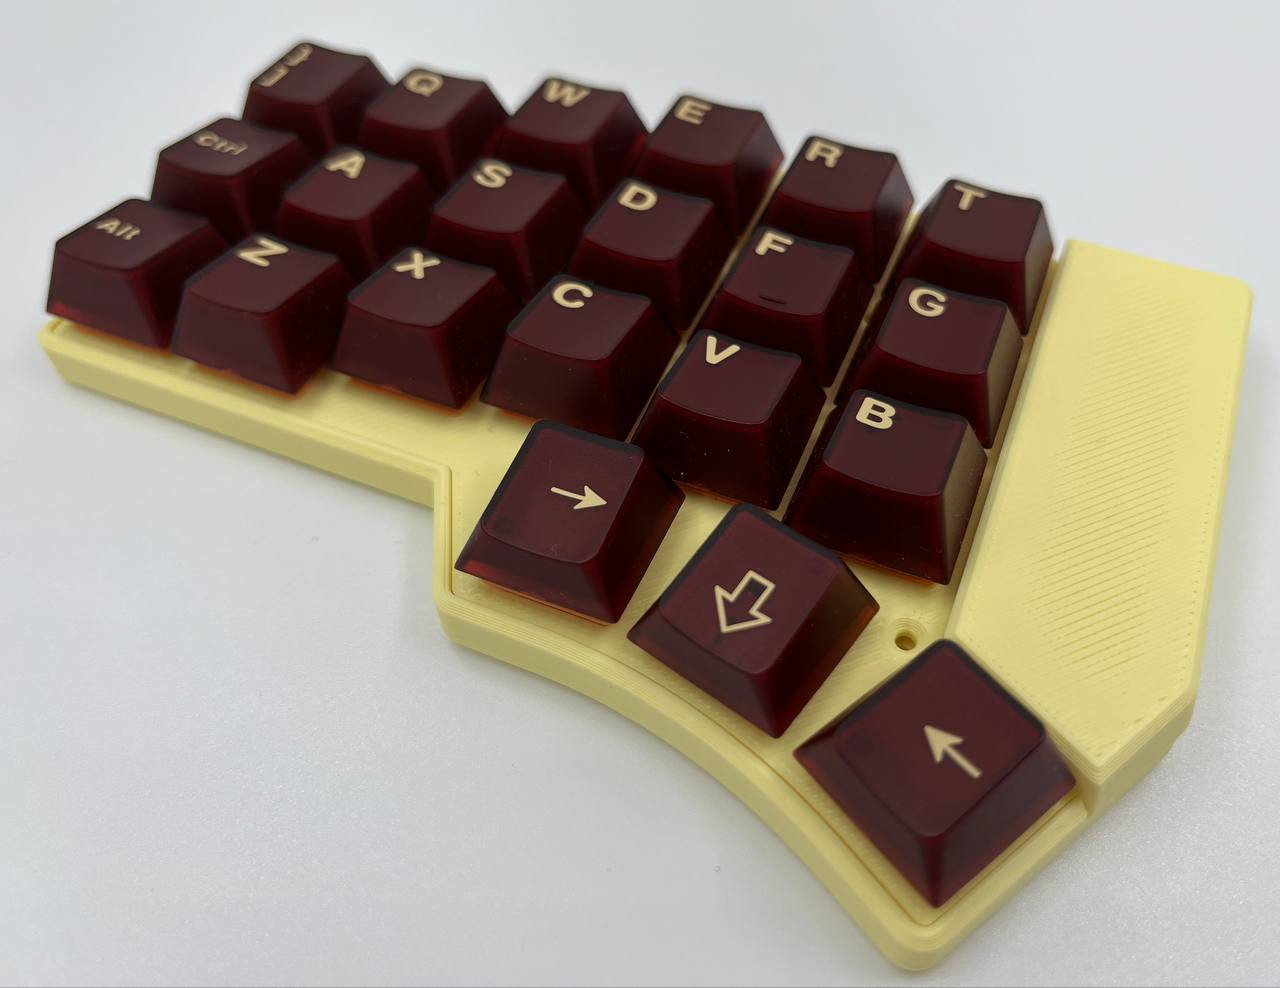
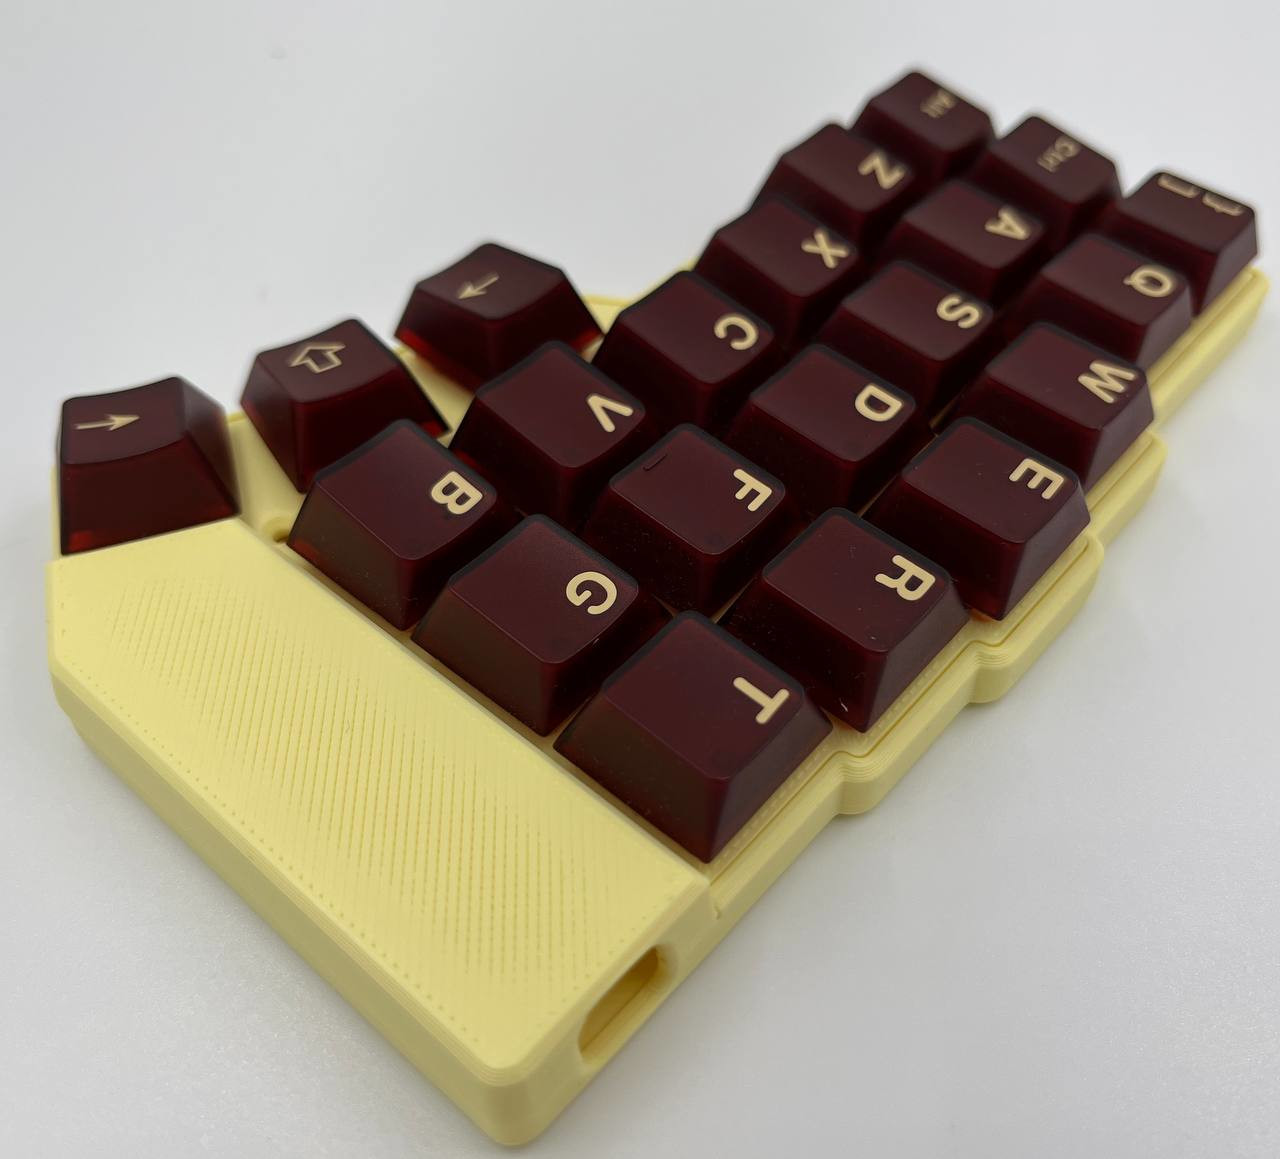
Case
The case is also an essential part of Ergonaut One since it provides proper electrical insulation from the environment and provides reliable mounting plates for the switches.
You can choose to use one of three provided variants of the case:
- 3D Printed:
- Modern Case (Recommended, the easiest to print)
- Classic Case
Common information for 3D printed cases
Tools:
You'd probably need:
- FDM 3D Printer or a friend with a printer;
- [ONLY FOR CLASSIC CASE] Scalpel or some other cutting tool to remove included supports;
- [OPTIONAL] Deburring tool.
BOM
You'd need some additional hardware to assemble your case:
| Name | Qty | Links |
|---|---|---|
| M2 8mm Flat Countersunk Screw | 8 | Aliexpress |
| M2 Hex Nut | 8 | Aliexpress |
| Silicone Feet Pads 8mmx2.5mm | 8 | Aliexpress |
Printing
Grab models here. Print with the following settings:
- Layer height: 0.2mm;
- Extrusion width: 0.4mm;
- No support structures.
Note: Classic Case might require support structures if your printer either has no part cooling or bad part cooling.
Note: Please let the part cool off properly before removing it from build plate to reduce the risk of part warping
Choose your desired case variant (Classic or Modern) and print four parts:
- Left Top;
- Right Top (model should be mirrored by X axis in slicer);
- Left Bottom;
- Right Bottom (model should be mirrored by X axis in slicer).
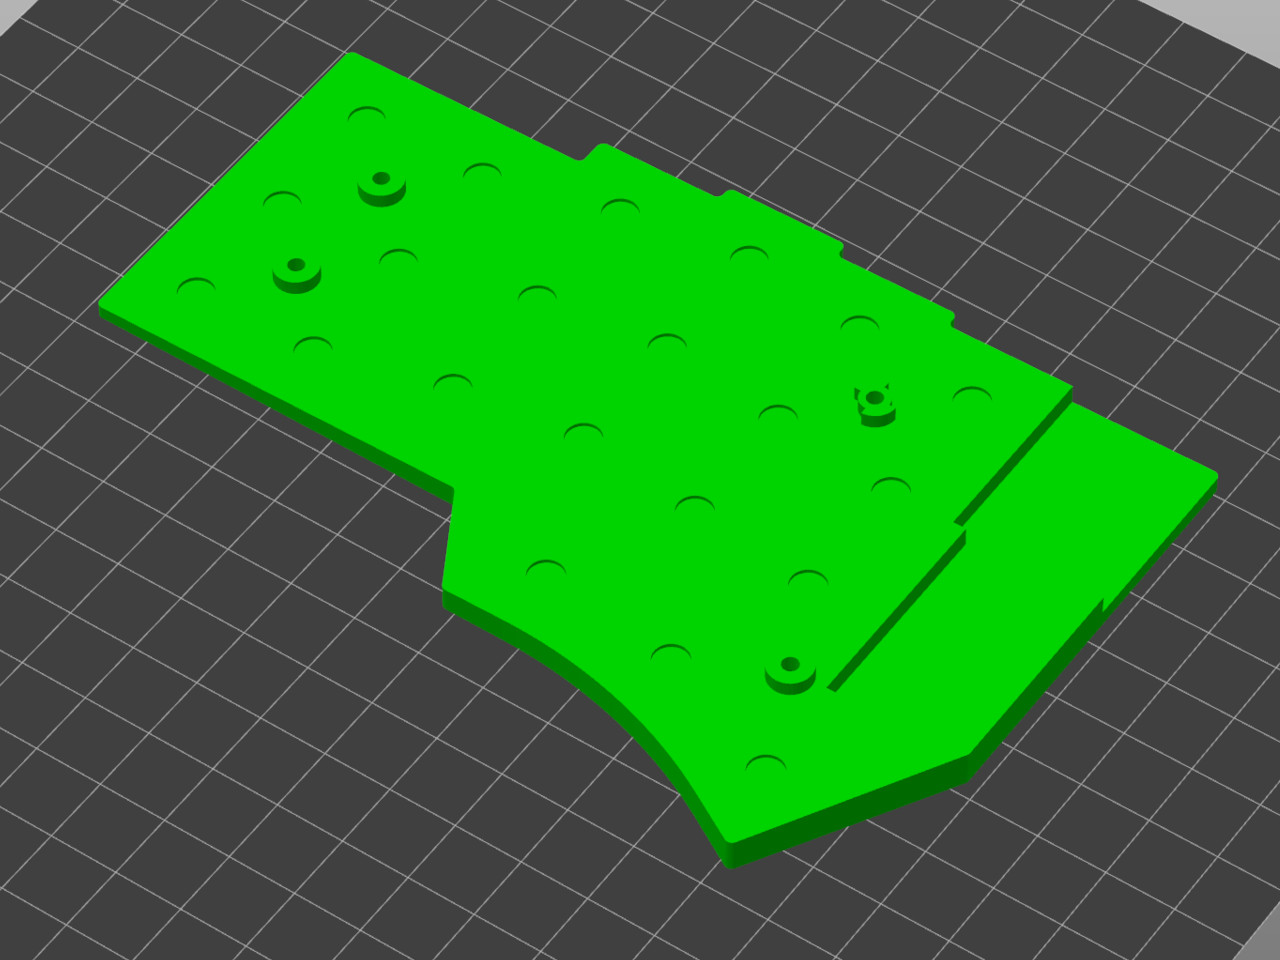
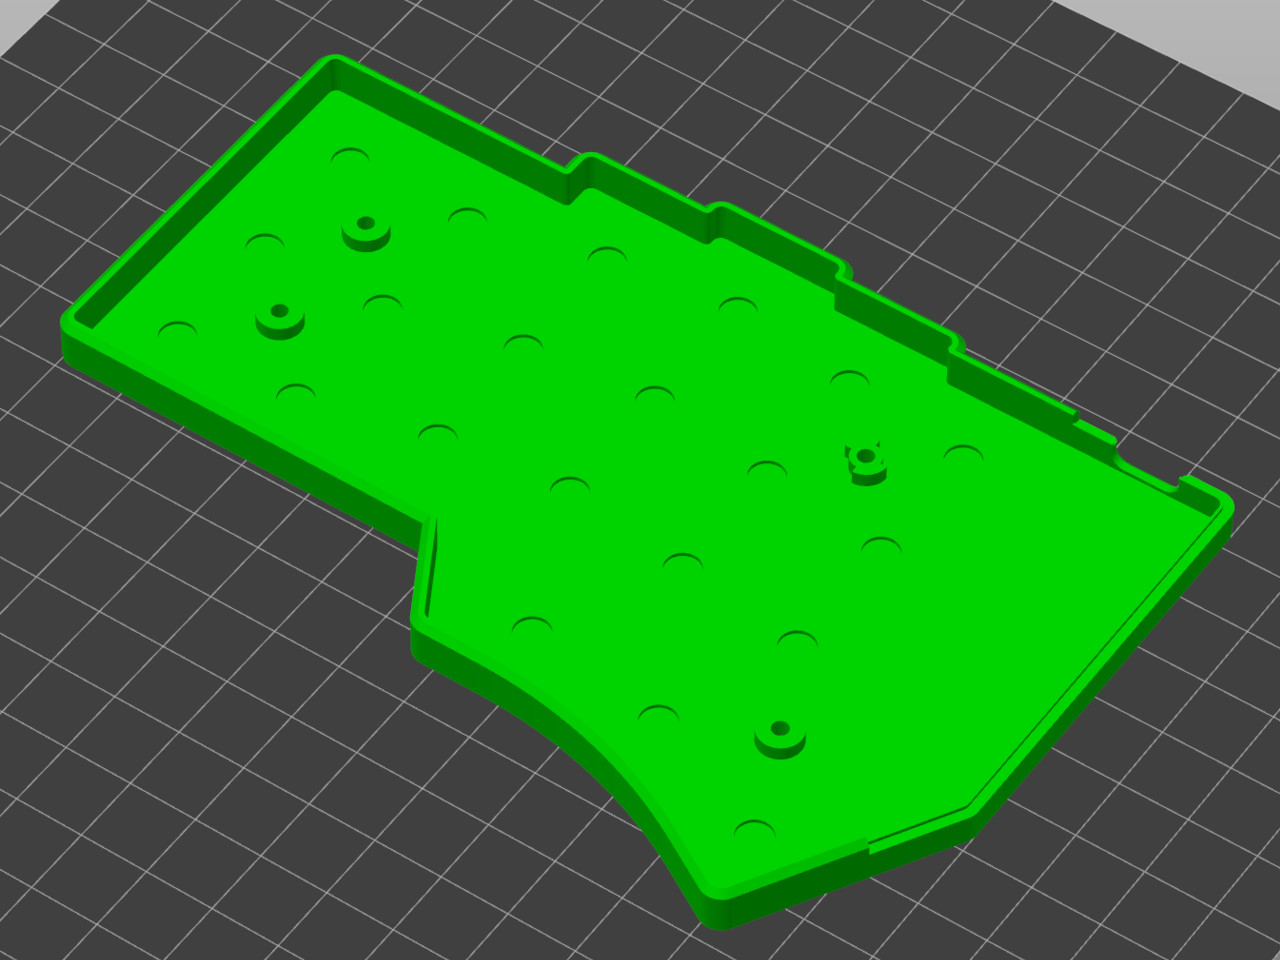
3D Printed Modern Case
| Front | Back |
|---|---|
 |  |
| Bottom part placement | Top part placement |
|---|---|
 | 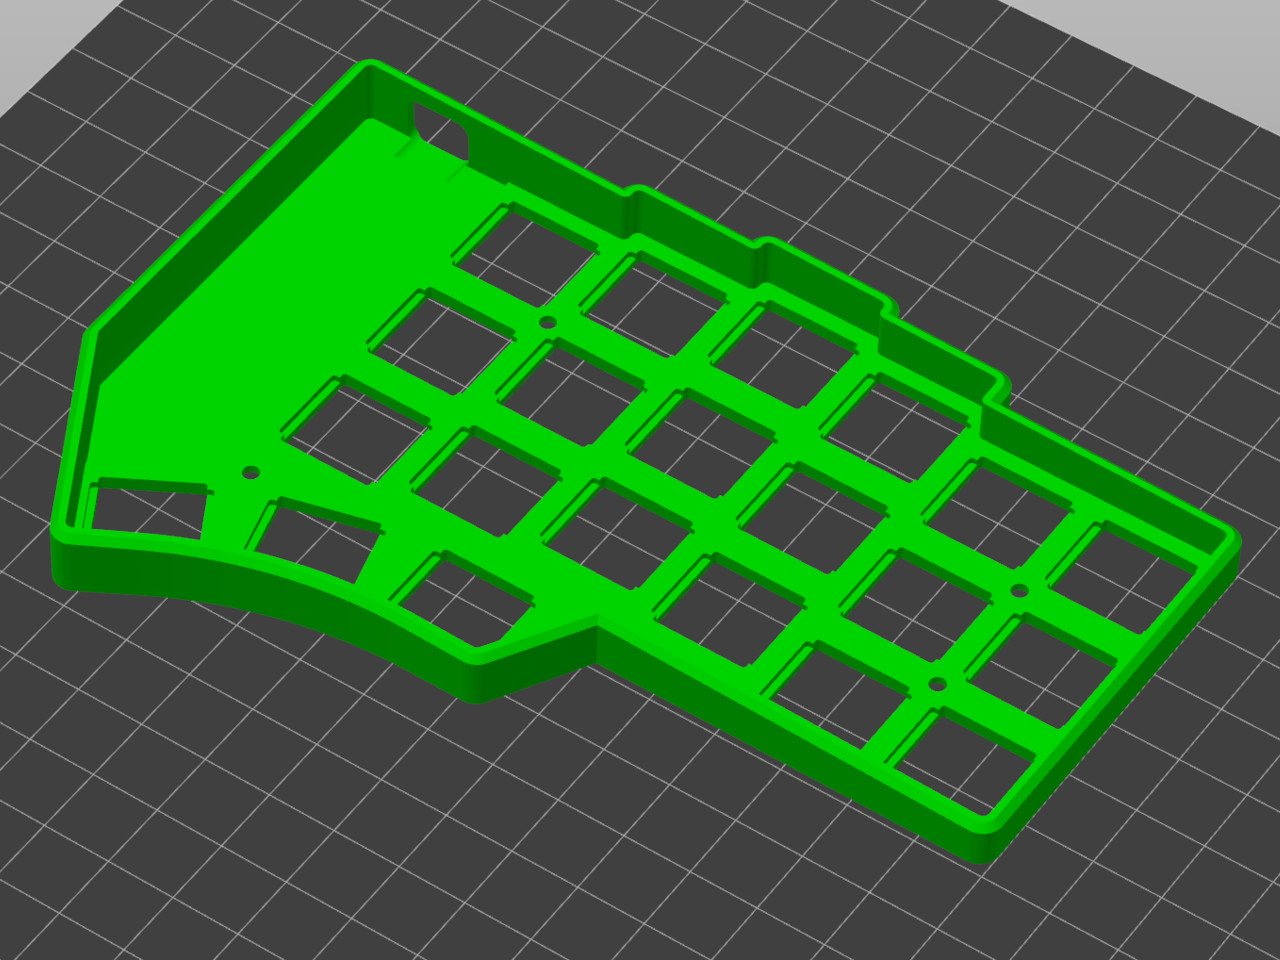 |
3D Printed Classic Case
| Front | Back |
|---|---|
 |  |
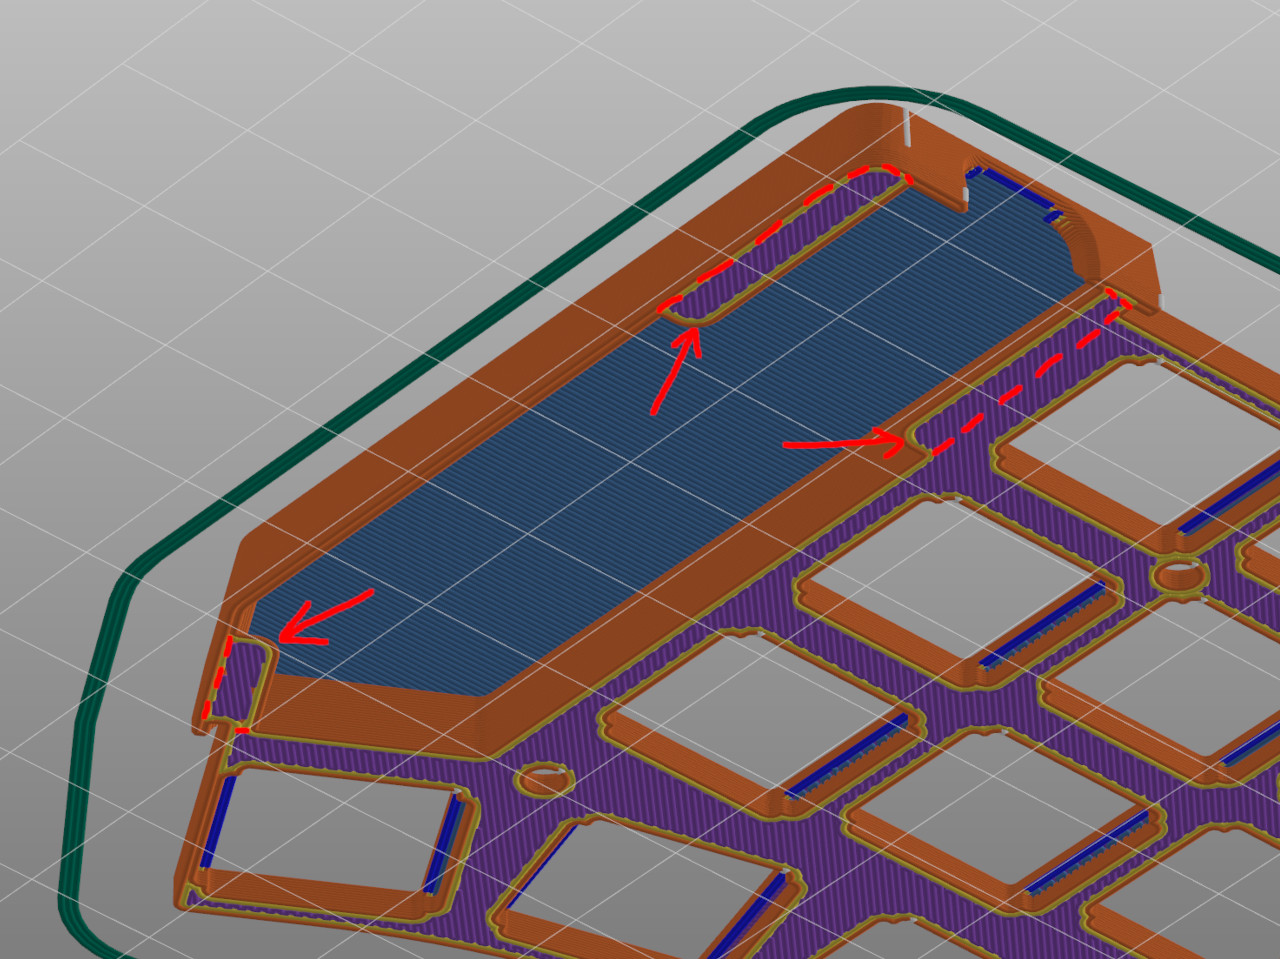
Note: this model contains included bed adhesion-improving supports, which should be removed after print.
| Bottom part placement | Top part placement |
|---|---|
 | 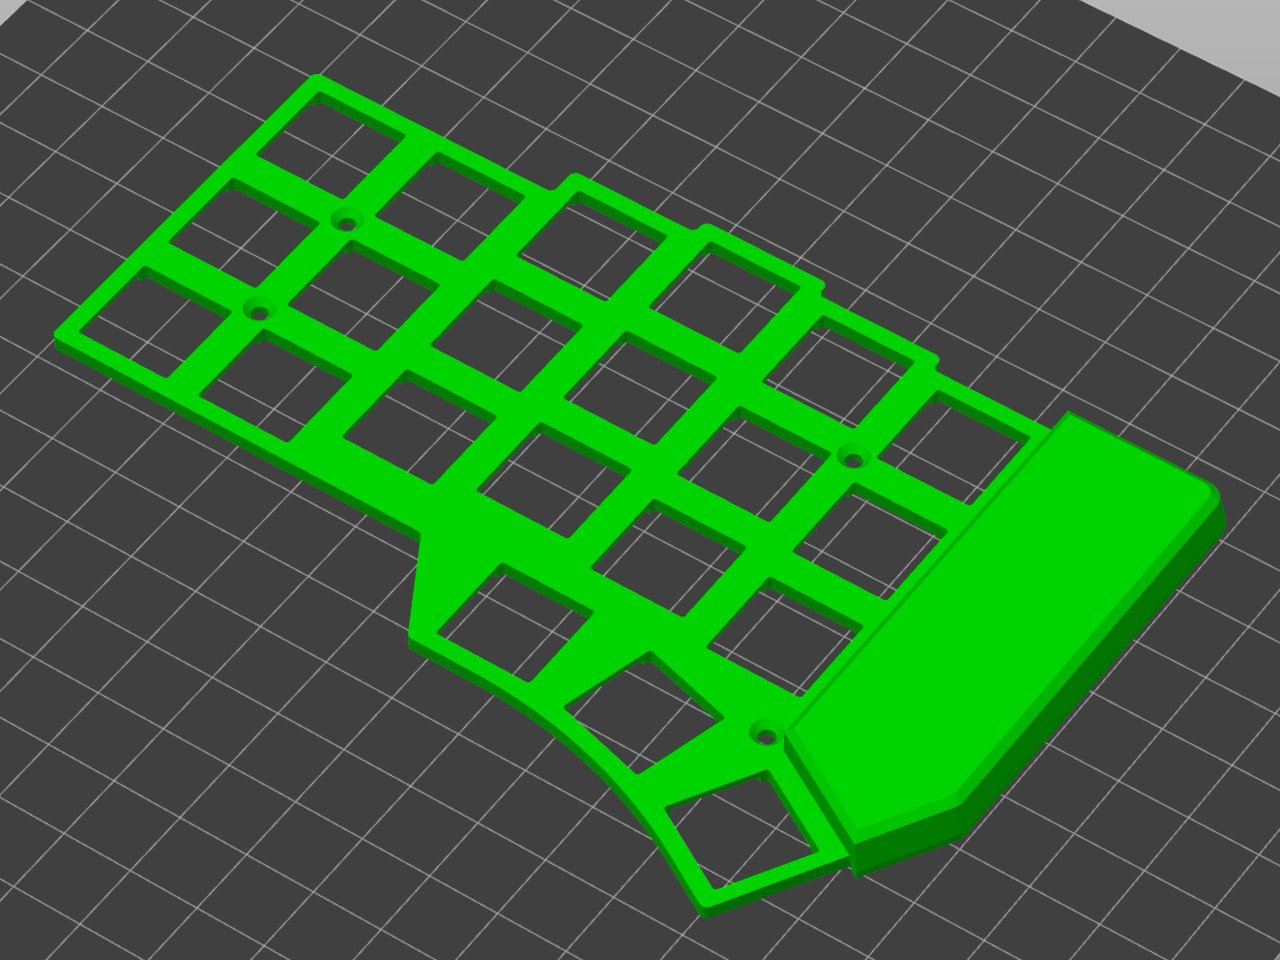 |
Note: After the print don't forget to remove included supports from the top parts. The image below for a reference: